Building Excitement With Math Exemplars
Written by: Katrina Hursey, Second Grade Math Teacher, Mt. Zion Elementary, Georgia

It is a new year with new students and new problems to solve! There is nothing like having the opportunity to start the year off fresh. I love breaking out new folders, new resources, and introducing new problems to my brand-new students. My number one goal in the very beginning is to help students fall in love with solving problems. I have done this by bringing in special glasses, wrapping their math journals in wrapping paper, handing out magnifying glasses or just giving out special pens or pencils for our problem-solving time. Students often have a fear of problem solving, but the math tasks introduced through Exemplars are fun! I love to make our problem-solving experience a big deal.
It's a Marathon, Not a Race
When introducing Exemplars to my second graders, it is sometimes hard not to jump in with both feet. I have been solving problems with Exemplars for many years, but for my students, this is all new. So it is important to start slow. An amazing woman and Exemplars expert, Suzanne Hood, taught me that teaching Exemplars is a marathon and not a race. If you start slowly and introduce the components fully, students will internalize the steps and make them a natural part of what they do when encountering a problem.
Start With the Problem-Solving Hand
When introducing Exemplars, I like to start with the Problem-Solving Hand. This resource is found in the Exemplars Library. I like to post one on my resource wall and give students their own copy to reference.
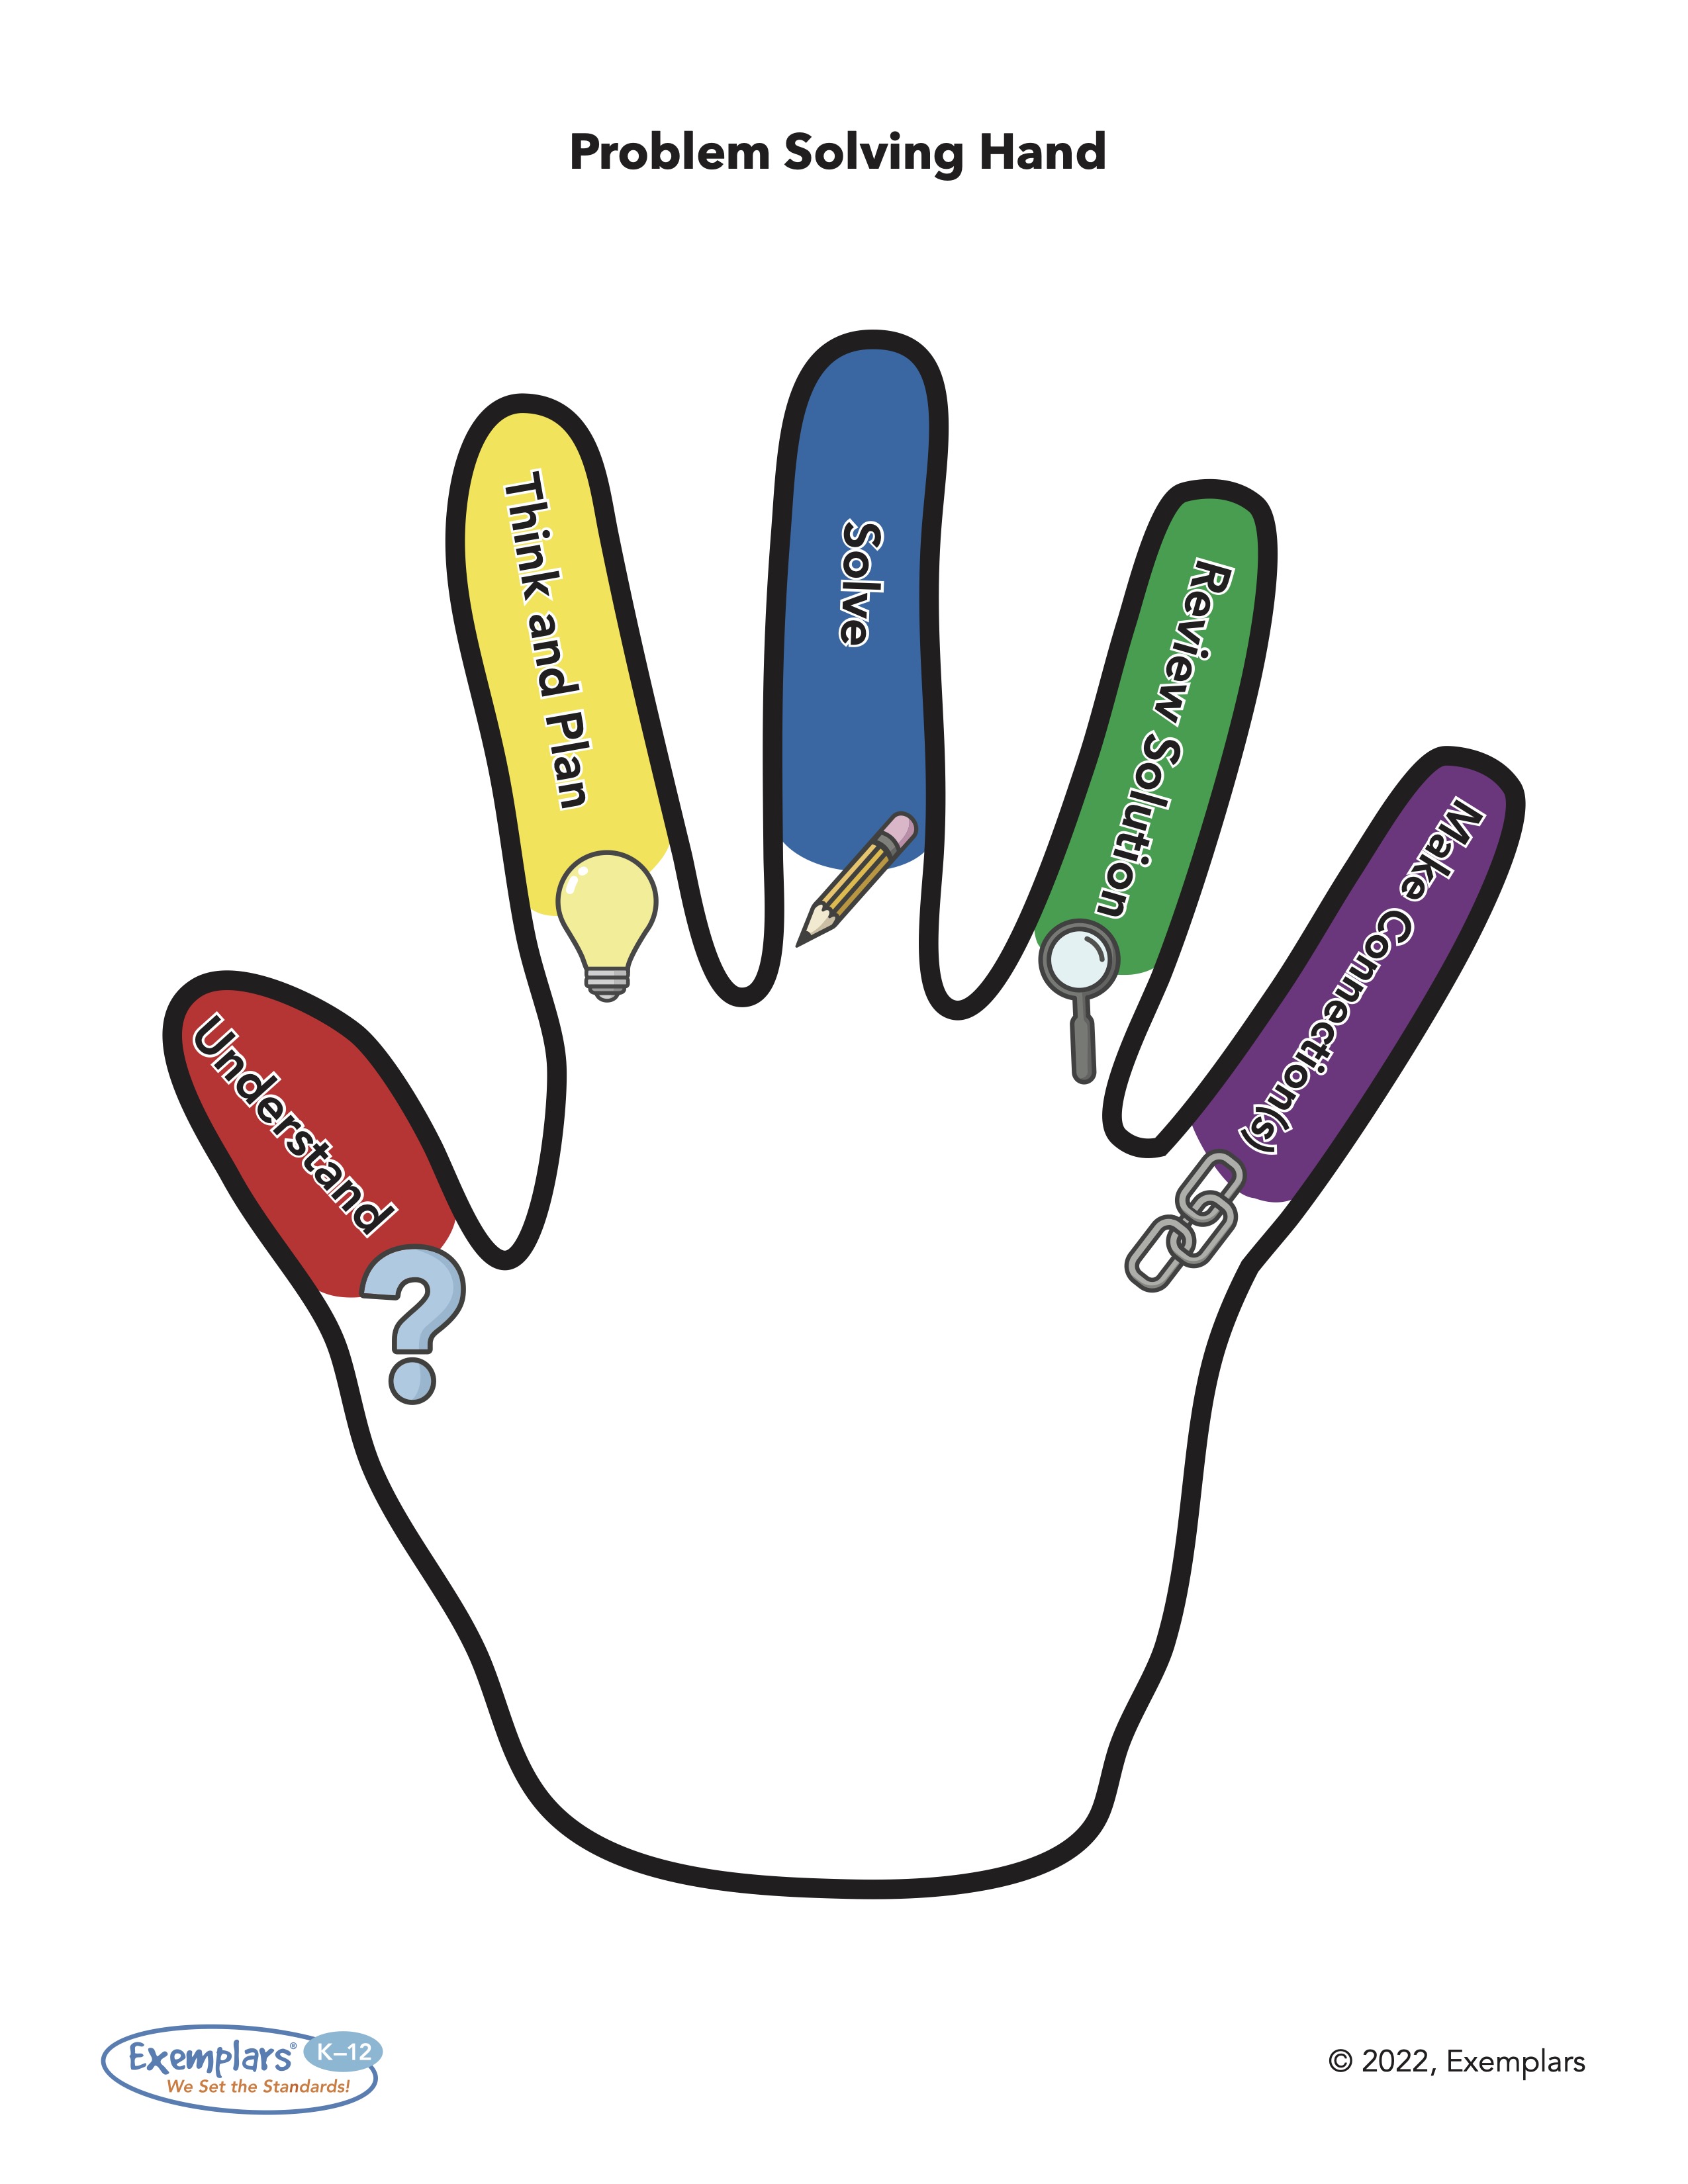
When I introduce this resource to students, we focus on the first three fingers on the hand. This visual helps students know what to do when approaching a word problem. Having this visual takes away the fear of not knowing how to get started. It provides students with their very own road map on where to go first, then second and on.
- They must first understand the problem. To understand the problem, students must be able to understand what the problem is asking them to solve. We use the three reads approach. The first time, we read the problem to read and fully listen. We read the problem a second time to listen for the problem or question. Our third read is for finding helpful information to help us when solving the problem. I teach my students to write the following statement under the problem. “The question is ______ .”
- Once they understand the question being asked, students must think and plan. This is done in a shared environment as we are all learning together. Students often come up with various ways to solve the problem, which builds excitement as we discover there are multiple strategies to use and many methods to find an answer to a problem. Students write the statement “I need to _____.” This helps students list the action steps they will take when solving their problem.
- The third finger is the solving finger. This is the step where students put their plan into action and solve the problem. I love seeing a student’s mind at work and hearing them think out loud. Encourage them to work with each other. Allow them the opportunity to draw pictures or act out the problem. This brings in fun and excitement as kids get to take their problem from abstract to concrete. This also allows students to draw on their creative side. By giving students the space to solve their problem in their own way, you are able to take a peek into their creative minds.
After completing these first three steps of the problem, I take students back to the Problem-Solving Hand. I start from the beginning, getting them used to assessing the process. They must identify each part.
- Did students understand the problem?
- Did they make a plan and did they find a solution?
I model using highlighters to highlight each part on my paper with the corresponding color on the hand. Students really love using highlighters to check their processes. They often show great pride in finding proof of their hard work. This gives them instant verification that they are following the steps to help them become Experts. After modeling this consistently, students will do this on their own as they use the Exemplars student rubric to assess their own progress. The Problem-Solving Hand goes into the student’s journal to use again.
Depending on the students’ performance in this lesson, I will choose to reteach these same skills with a new problem next time, or move forward with the next step. The great thing about Exemplars is that you can individualize problems for each child. Children are left excited at the end of the lesson because they know there are new parts of Exemplars to explore.
I completed my first lesson last week with new students. They came in the very next day asking when they were going to get to solve problems again. They can’t wait to learn about the next two steps in the problem-solving process. My students are excited about solving problems, and that makes my math-loving heart so happy.